Apple
How to use AirDrop on iPhone, iPad, and Mac
Want to quickly send and receive pictures on iPhone or Mac? AirDrop is the way to go.
Several ways to transfer files between Apple devices exist, but not all are created equal.
Bluetooth is clunky and unreliable. Messaging apps will let you down. Fortunately, Apple has a worthy solution to your file transfer woes: AirDrop.
AirDrop allows you to swiftly fling files to anyone within range in a safe and respectable way.
If AirDrop is an option, you should use it. The feature is by far the most convenient file transfer method available to Apple users.
Let’s discuss how to use AirDrop on an iPhone, iPad, and Mac.
AirDrop fundamentals for all Apple devices
Before you attempt to AirDrop anything, you should ensure that you’ve configured all devices correctly. Both sender and receiver will need to check and adjust all relevant settings.
Here’s an AirDrop checklist to go through before you begin:
- Turn on Wi-Fi and Bluetooth
- Turn off Personal Hotspot if enabled
- Stay within Bluetooth range (approximately 30 feet or 9 meters)
- Use appropriate AirDrop receiver settings
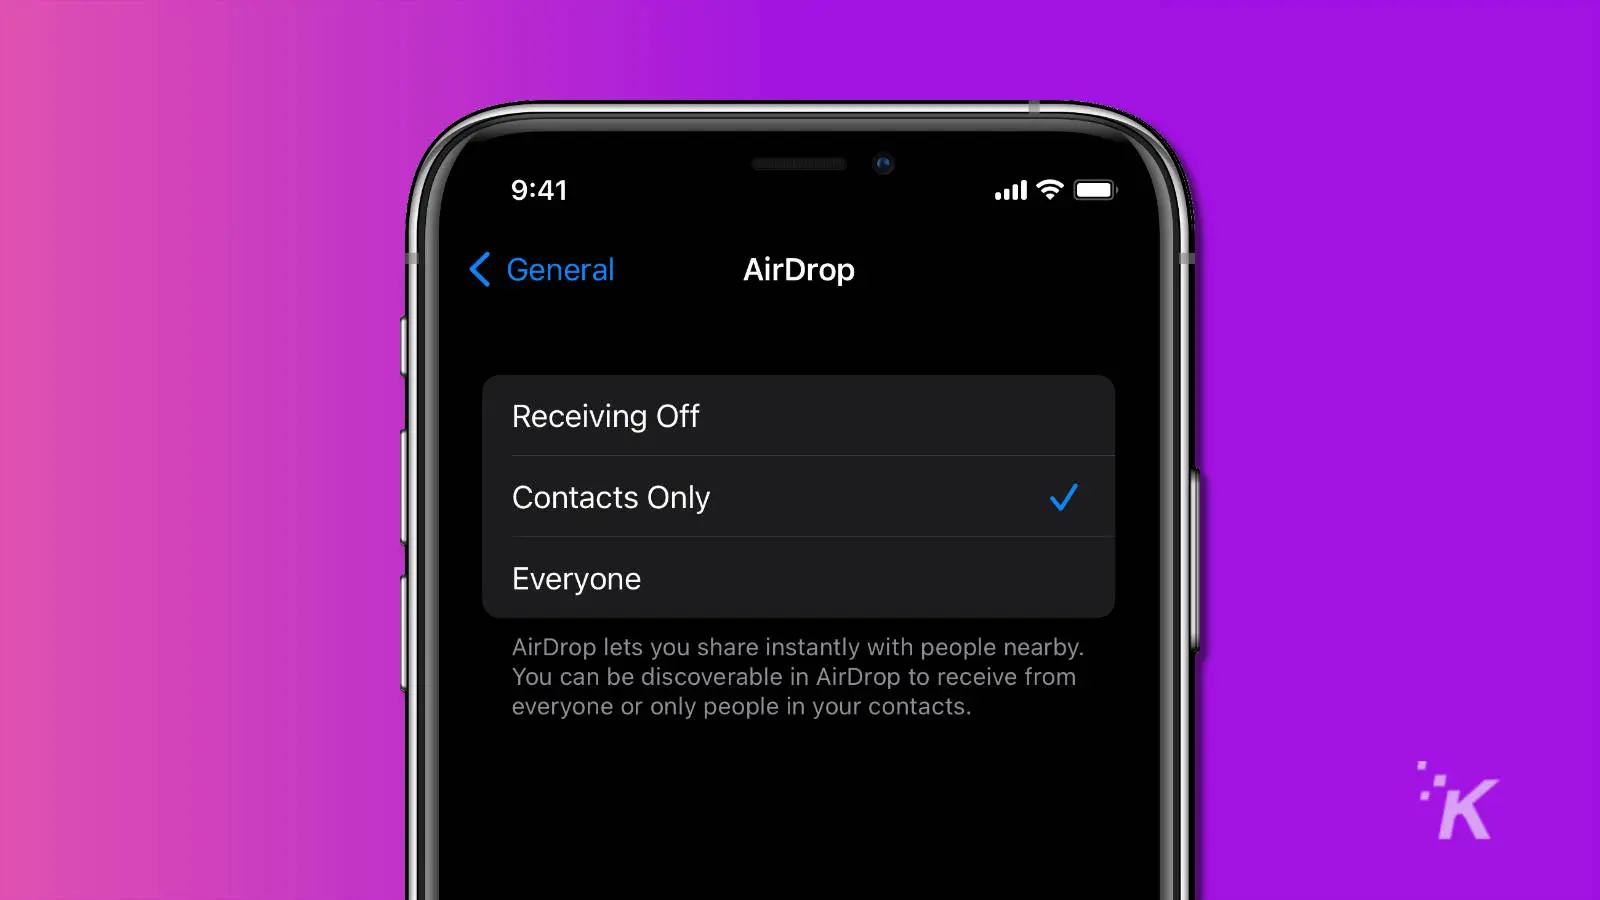
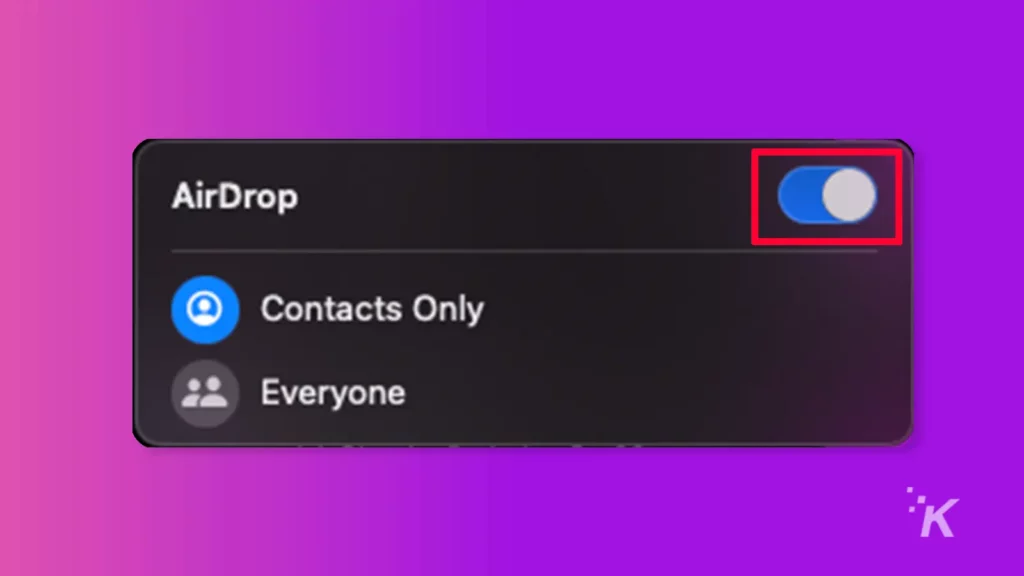
When you configure AirDrop, you have the choice to make your device discoverable to No One, Contacts Only, or Everyone.
When using the Contacts Only option, the sender needs to be on the receiver’s contact list to make a connection.
Luckily, AirDrop settings are simple to change.
How to change AirDrop settings in iOS (iPhone and iPad)
Here’s how to change your AirDrop settings in iOS:
- Go to Settings
- Tap on General
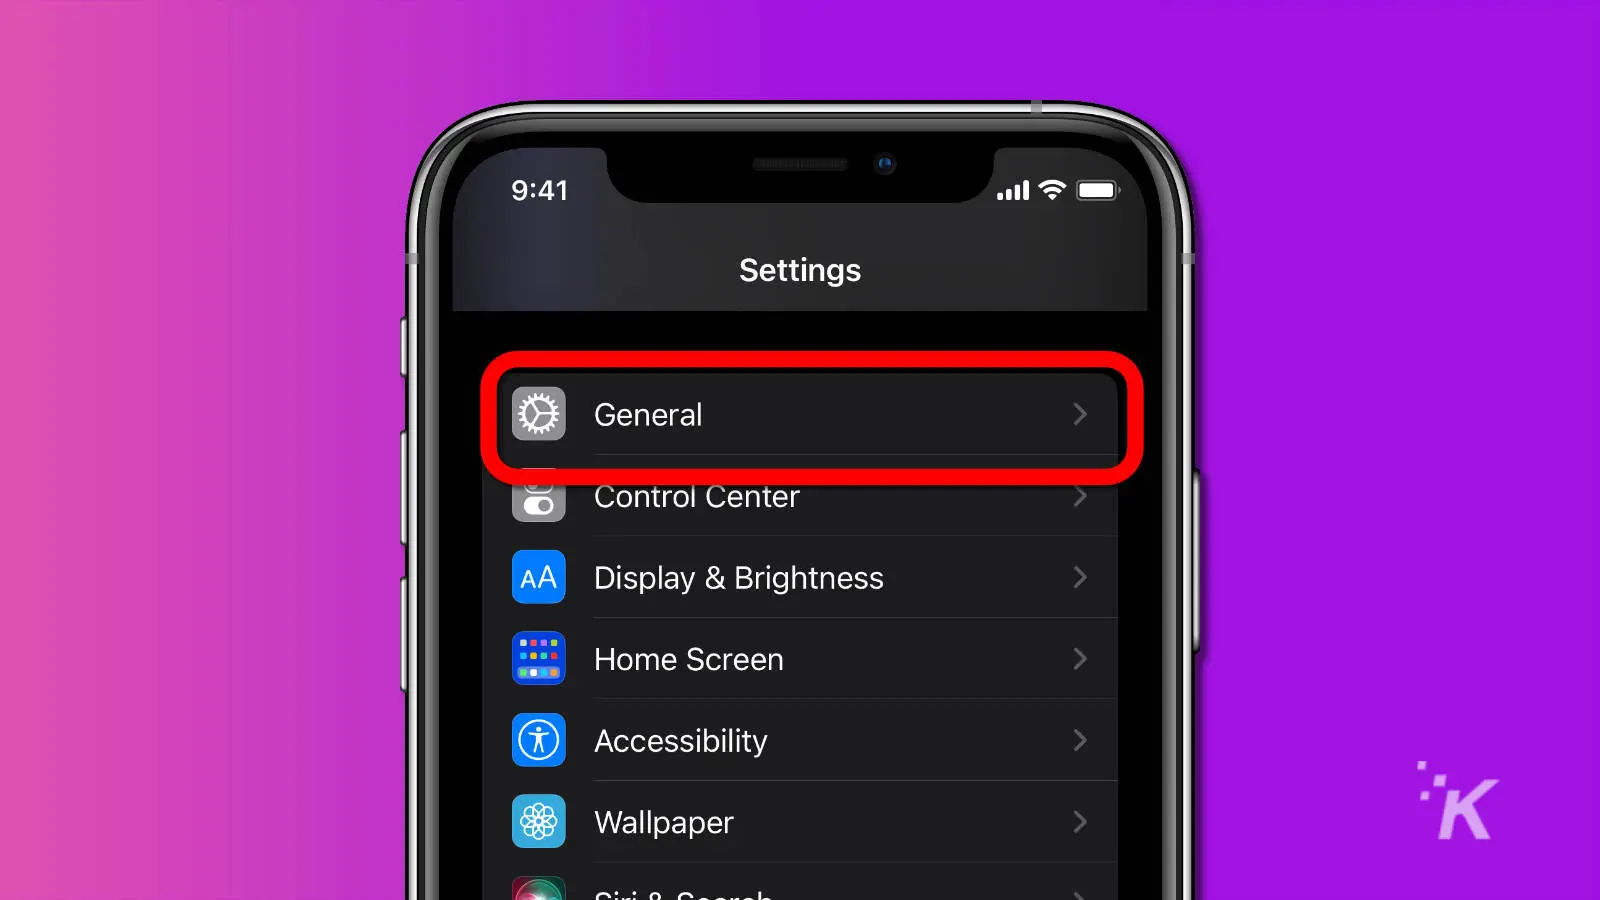
- Tap AirDrop
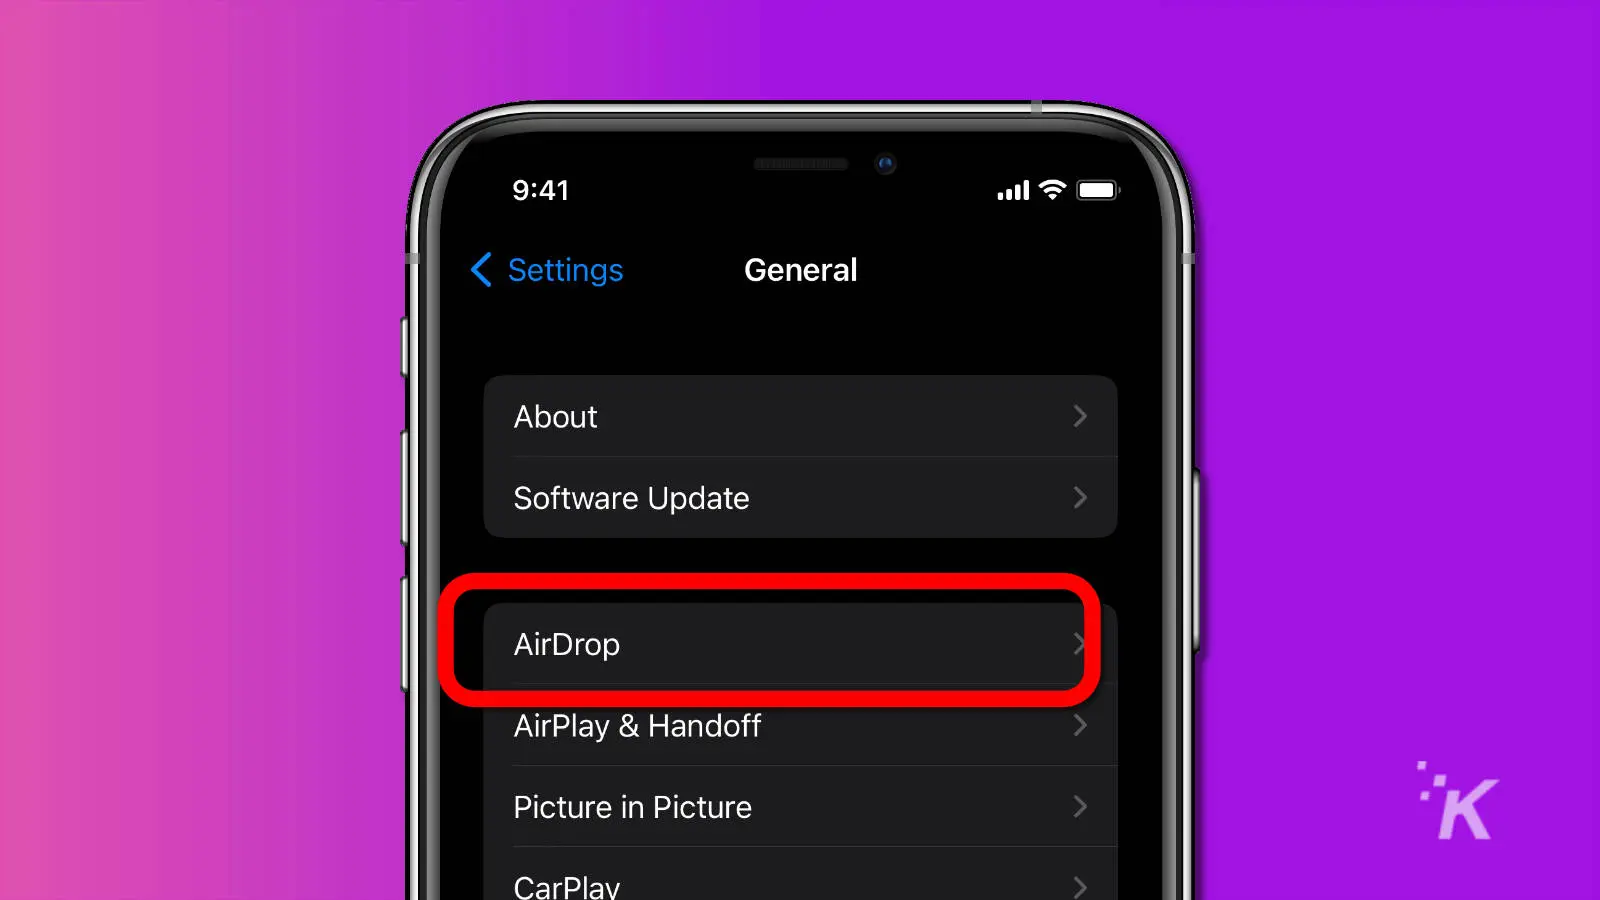
- Select the appropriate setting
Alternatively, you can access AirDrop settings in the Control Center by pressing and holding the wireless communication panel. We’ll show you that below.
How to change AirDrop settings in Control Center (iPhone and iPad)
If you prefer to turn on AirDrop and make changes from the Control Center, we’ll show you how to do that below.
-
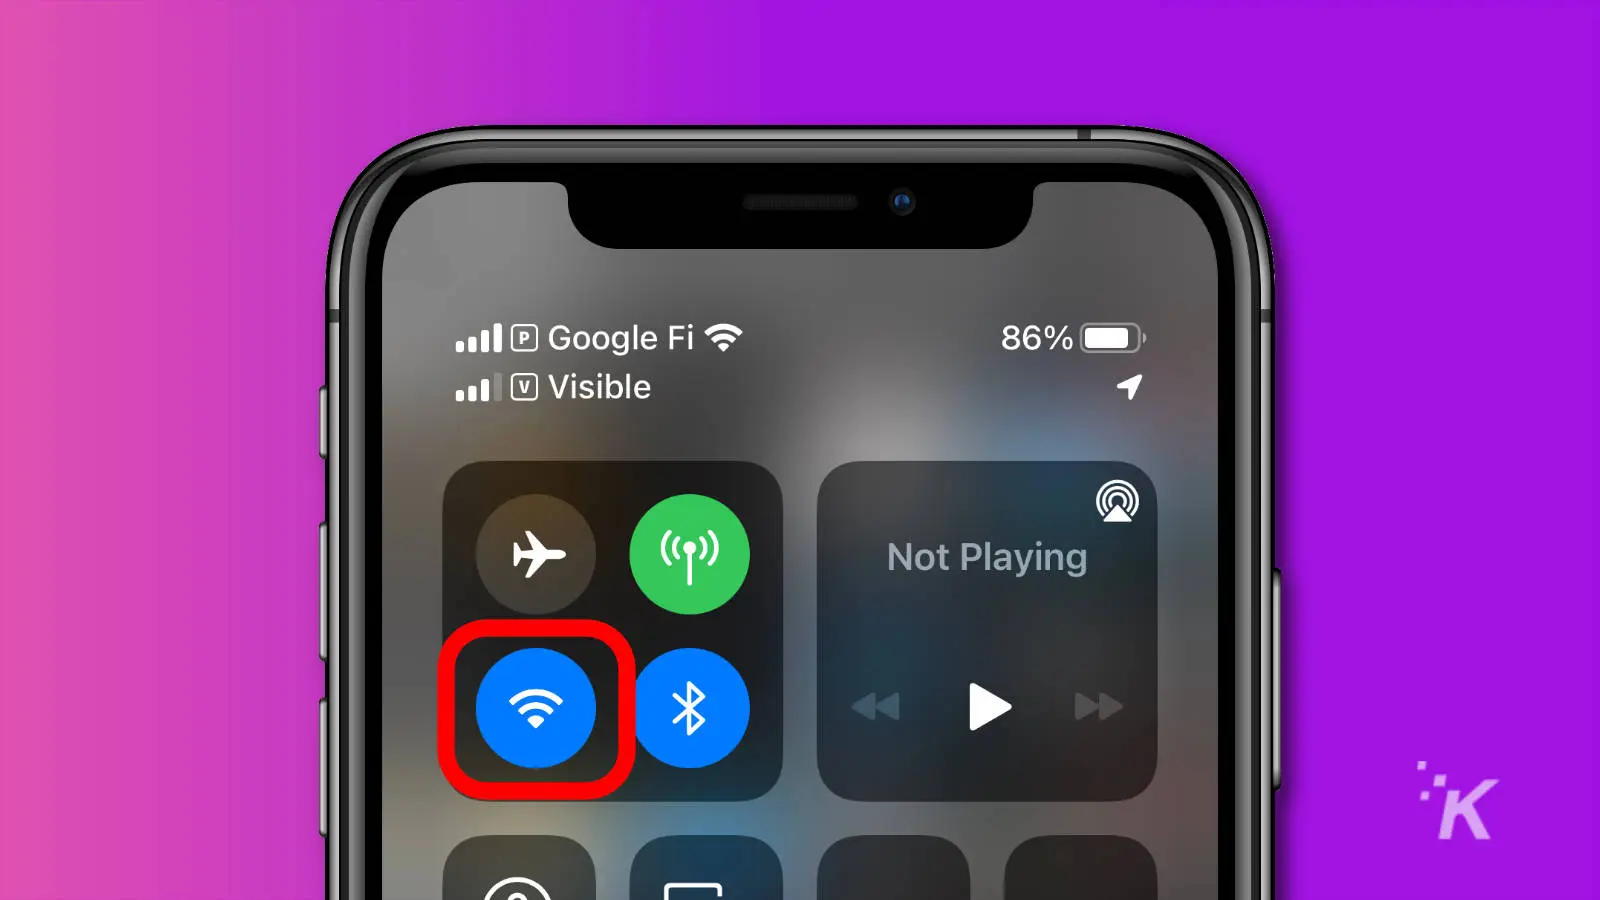
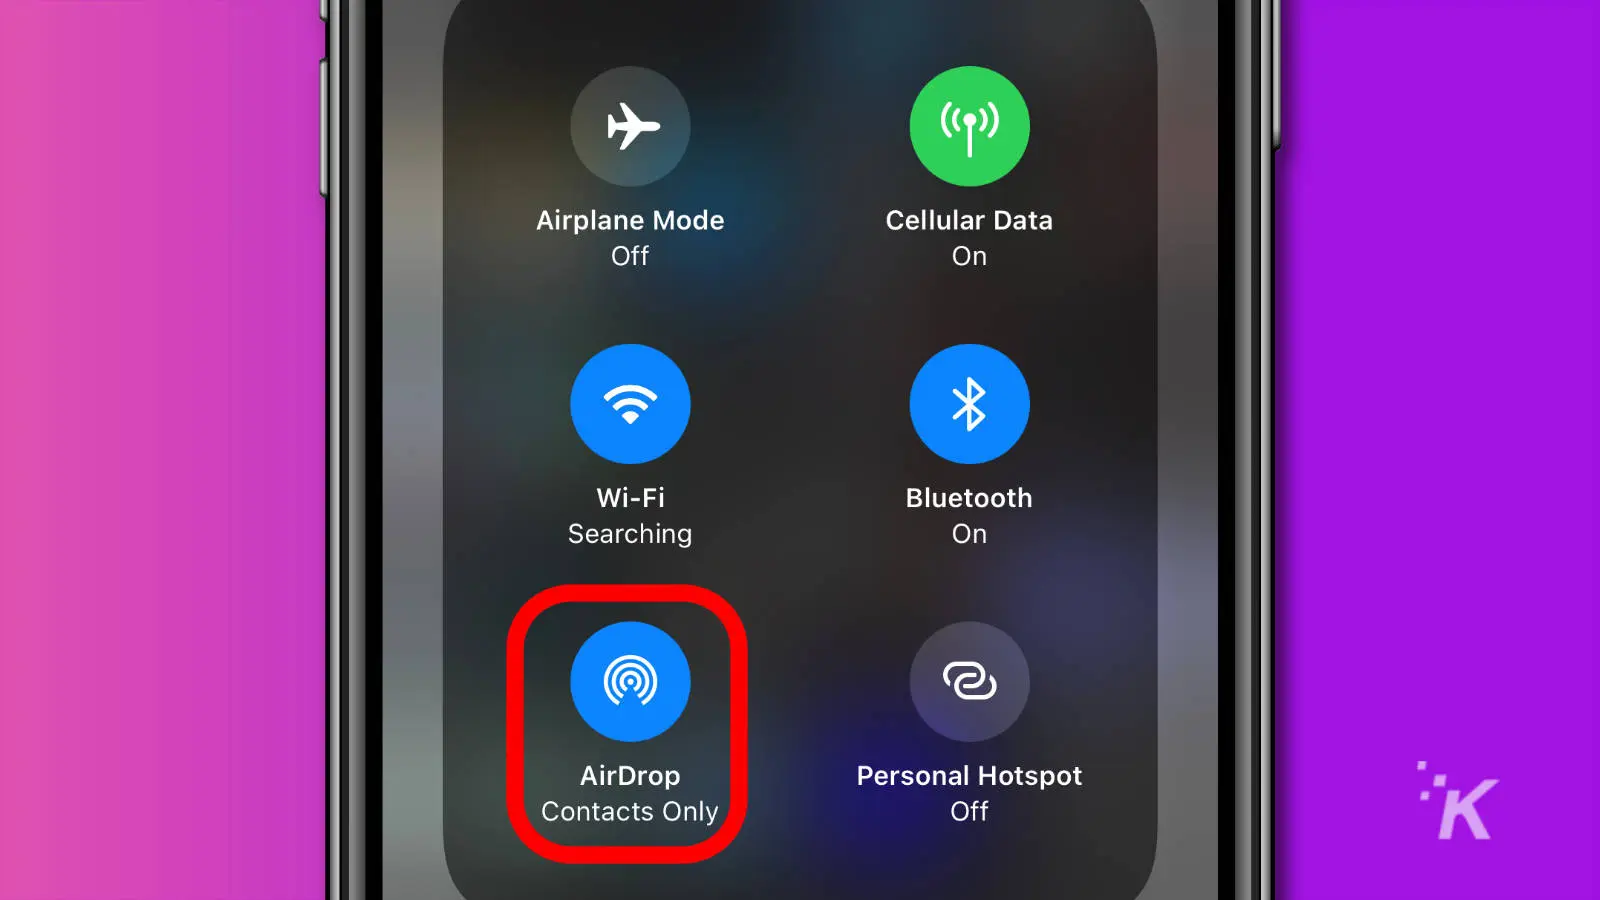
Open Control Center by swiping down from the top-right corner of your screen
-
Long-press on the WiFi icon

-
If WiFi or Bluetooth isn’t on, tap on them to enable them. AirDrop won’t work without both enabled
-
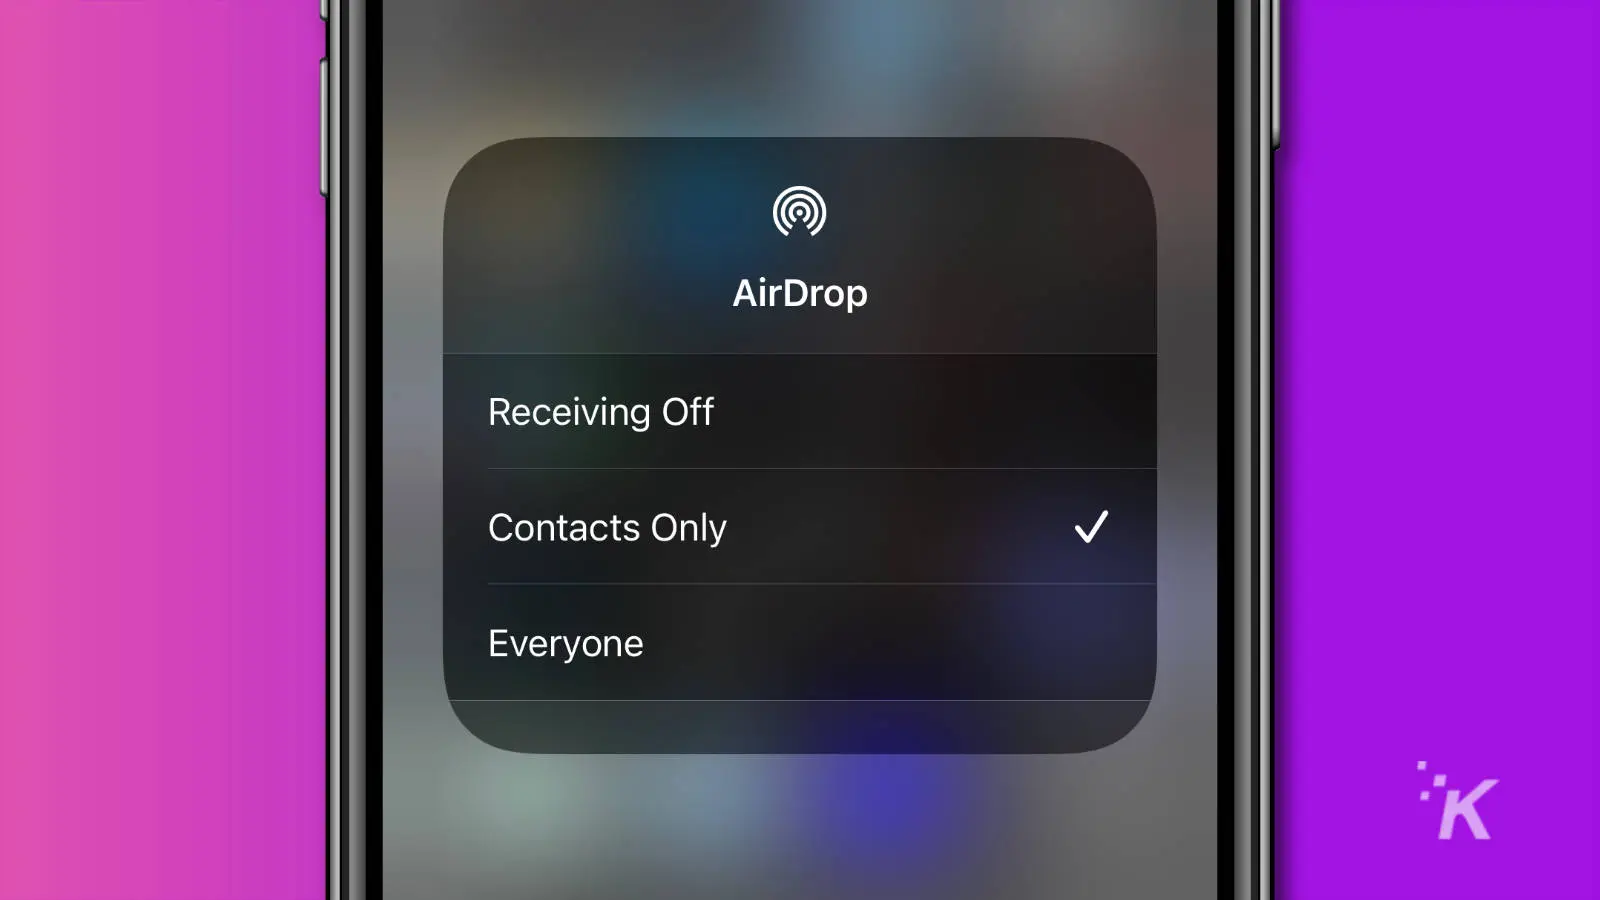
Tap on the AirDrop icon to choose who can send files to your devices. Those choices are Receiving Off, Contacts Only, and Everyone
And there you go, you’ve now updated your AirDrop settings using Control Center on iPhone.
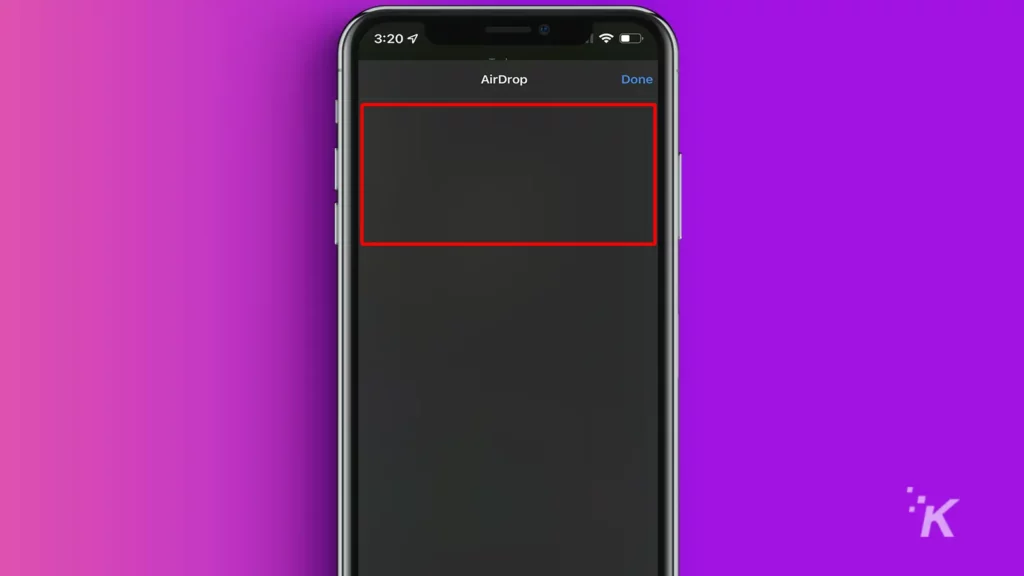
How to use AirDrop on iPhone and iPad
If you want to send a picture or file using AirDrop, you can do that in just a couple of steps. Follow the quick three steps below:
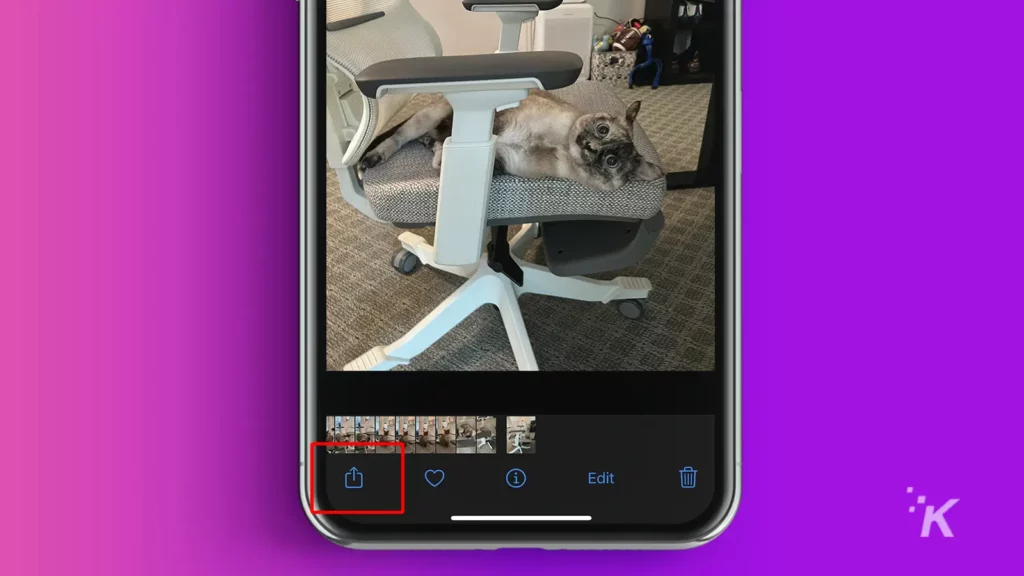
- Open the content you want to AirDrop and tap the Share icon (the square with the arrow)
- Tap AirDrop
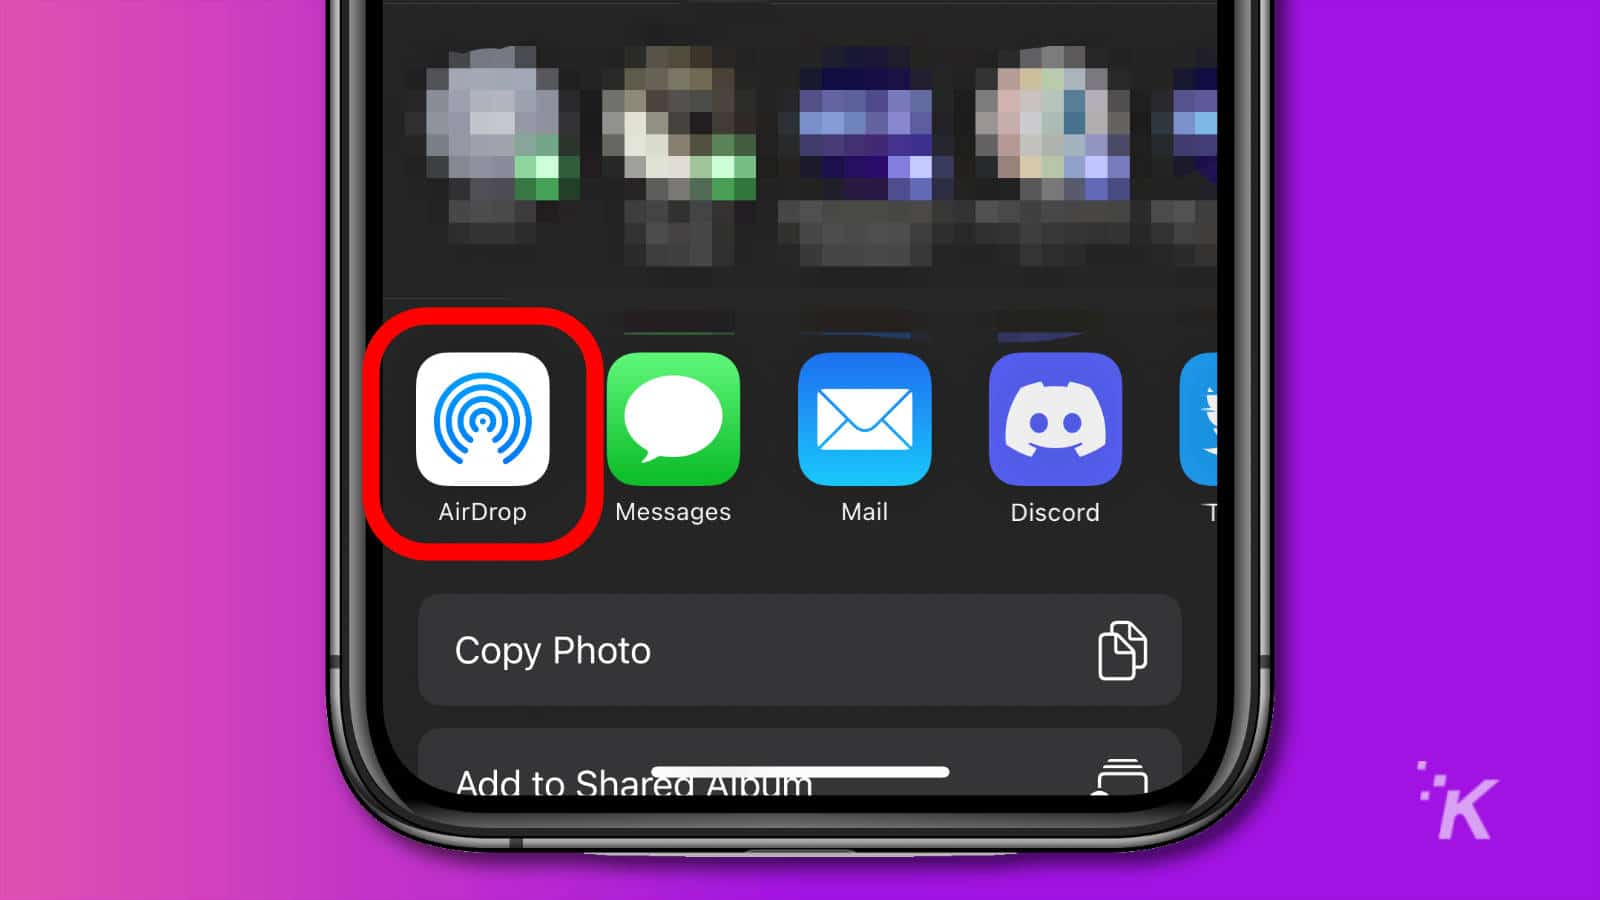
- Tap the Profile picture or name that you want to AirDrop to
If the sender also has an iPhone 11 or later, point your device in the direction of the target to find their iPhone.
When the sending request goes through, the recipient needs to tap Accept to complete the transfer.
Once the process is complete, the AirDropped file should appear on the receiver’s device in the same app it originated from.
Here’s how to use AirDrop on a Mac

If you are on Mac and want to use AirDrop, you’re in luck. That’s totally possible, and we’ll show you how below.
- Open the Control Center on your Mac

- Click on AirDrop
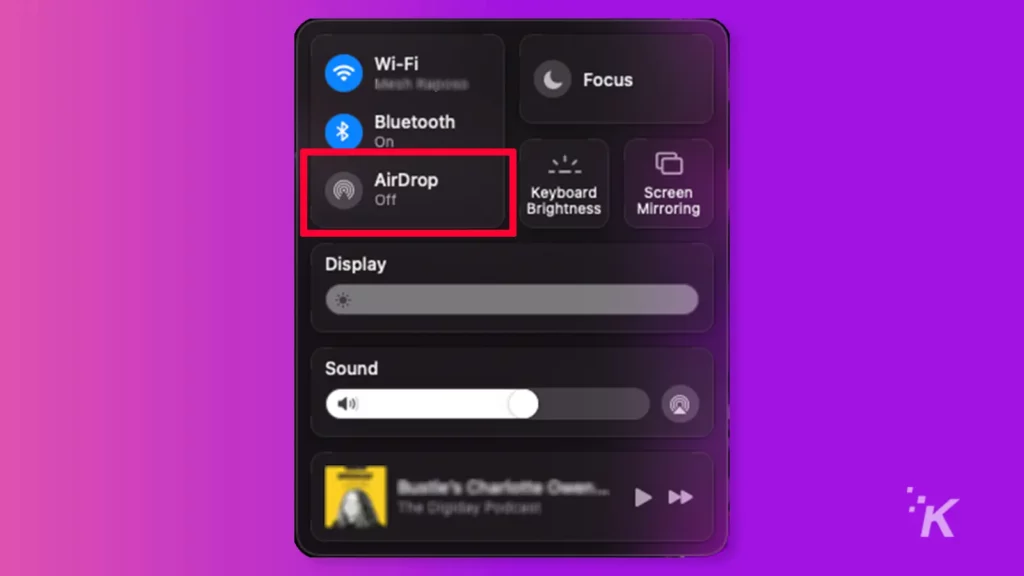
- Here, you can toggle AirDrop to On and set who can send files
- Once enabled, you can use AirDrop to send files from Finder, the desktop, or from apps like Safari or Maps.
- Click on AirDrop in the Finder sidebar, then drag the file you want to send to the device you want it sent to

- You can also right-click on files, and select Share > AirDrop then choose the device to send it to
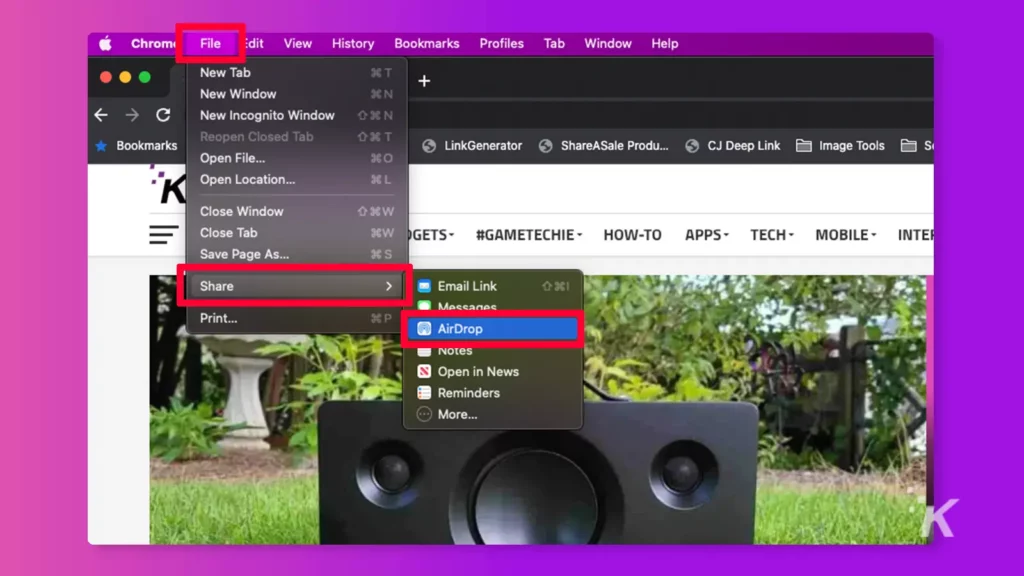
- From inside any supported app, click the Share button, click on AirDrop, then choose the device to send the file to
Alternatively, you can go to Airdrop in the Finder side menu and drag files onto the appropriate person’s face.
Be wary of AirDropping with strangers
If you configure AirDrop to accept files from anyone, you leave yourself open to unsolicited transfer attempts.
Sure, you may receive some interesting items as you wander through a crowd. But, in most cases, you probably won’t like what you find. Proceed with caution.
Have any thoughts on this? Let us know down below in the comments or carry the discussion over to our Twitter or Facebook.
Editors’ Recommendations:
- What is the latest macOS version?
- How to update your Mac
- How to update iPhone apps
- Here’s how to update your iPhone


#GameTechie
Can the PlayStation 5 play DVDs?