We all know that the move toward digital-only game ownership, along with larger games (and larger updates), is resulting in our poor Xbox One hard drives getting full quickly. The thing is, the 1 TB (or 500 GB of storage if you have an early Xbox) of internal storage isn’t that huge. Nobody wants to delete the games they spent days downloading just so they can play the latest games though, so we’re going to show you how to expand your storage space.
No, you won’t need to unscrew your Xbox One’s shell, invalidating your warranty (or not, the VOID if removed stickers are actually illegal). Microsoft took a different path to Sony when they set up the Xbox One’s storage. See, with the PlayStation 4 Pro, you can just open the case, put in a larger drive, and have the console reformat so you can start playing again.
Microsoft’s console, on the other hand, buries the HDD deep inside, making the path to swapping the drive a long, dangerous one. Don’t think that once you get to the drive, it’s a simple swap either. You’ll need third-party scripts and/or a deep understanding of hard drive formats and partitioning to set up the new drive. It’s just not worth the hassle, not when it’s simple to add a USB hard drive which works just as well as the internal one. Seagate sells officially branded 4TB drives for $120, which adds a lot of storage for games.
In case you want to do it the long way, I’ll walk you through using your own hard drive on your Xbox One.
Here’s how to expand your Xbox One’s game storage (safely)
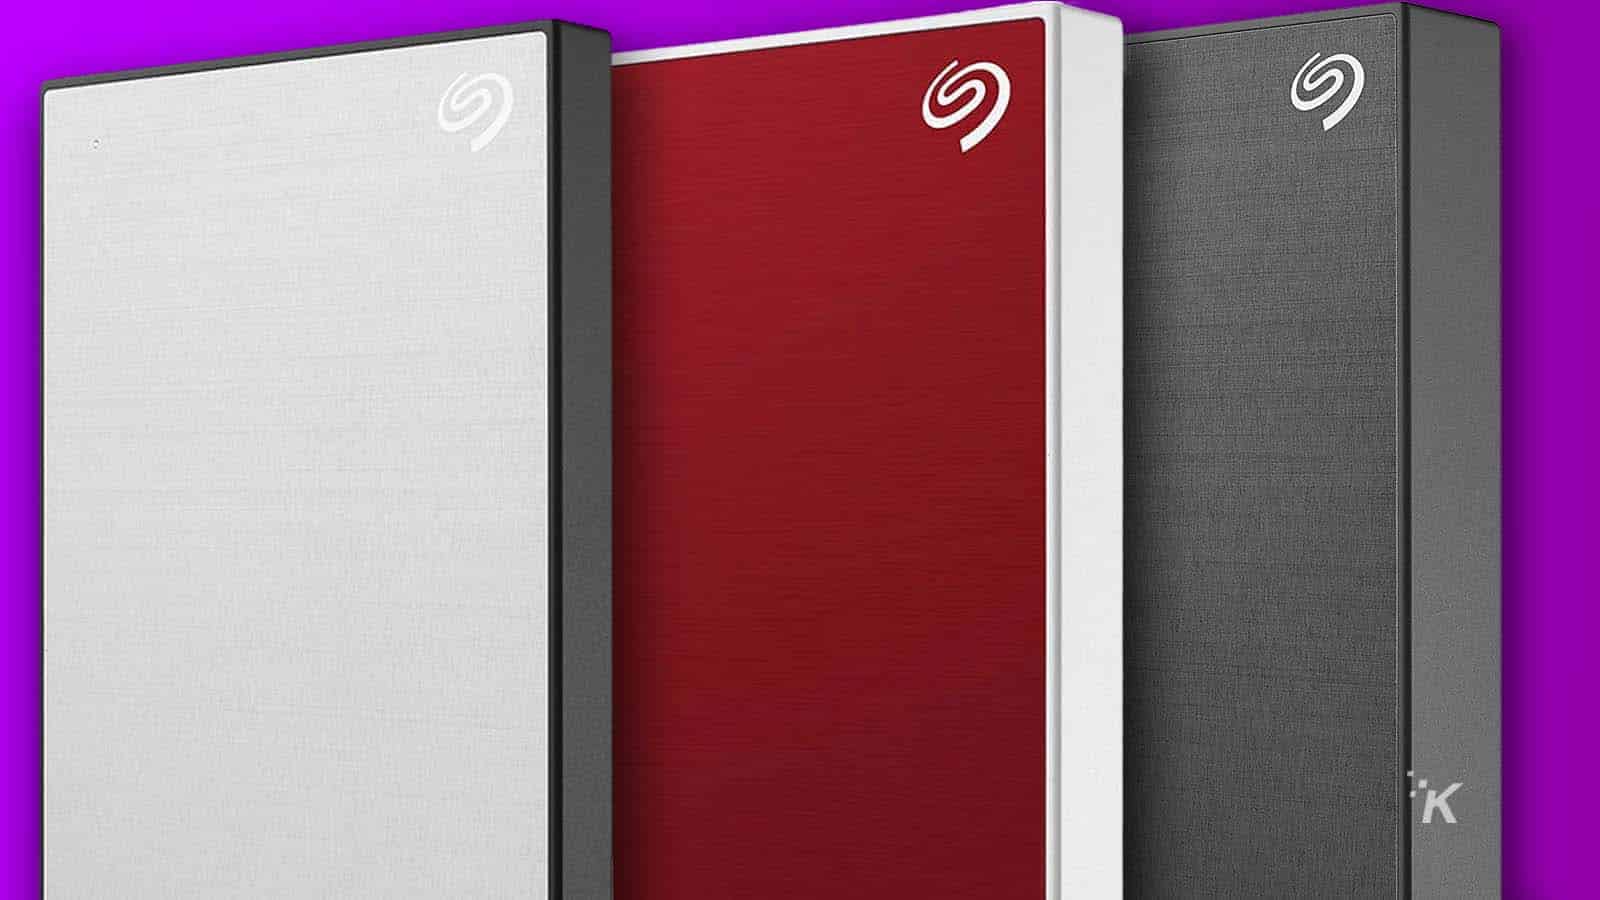
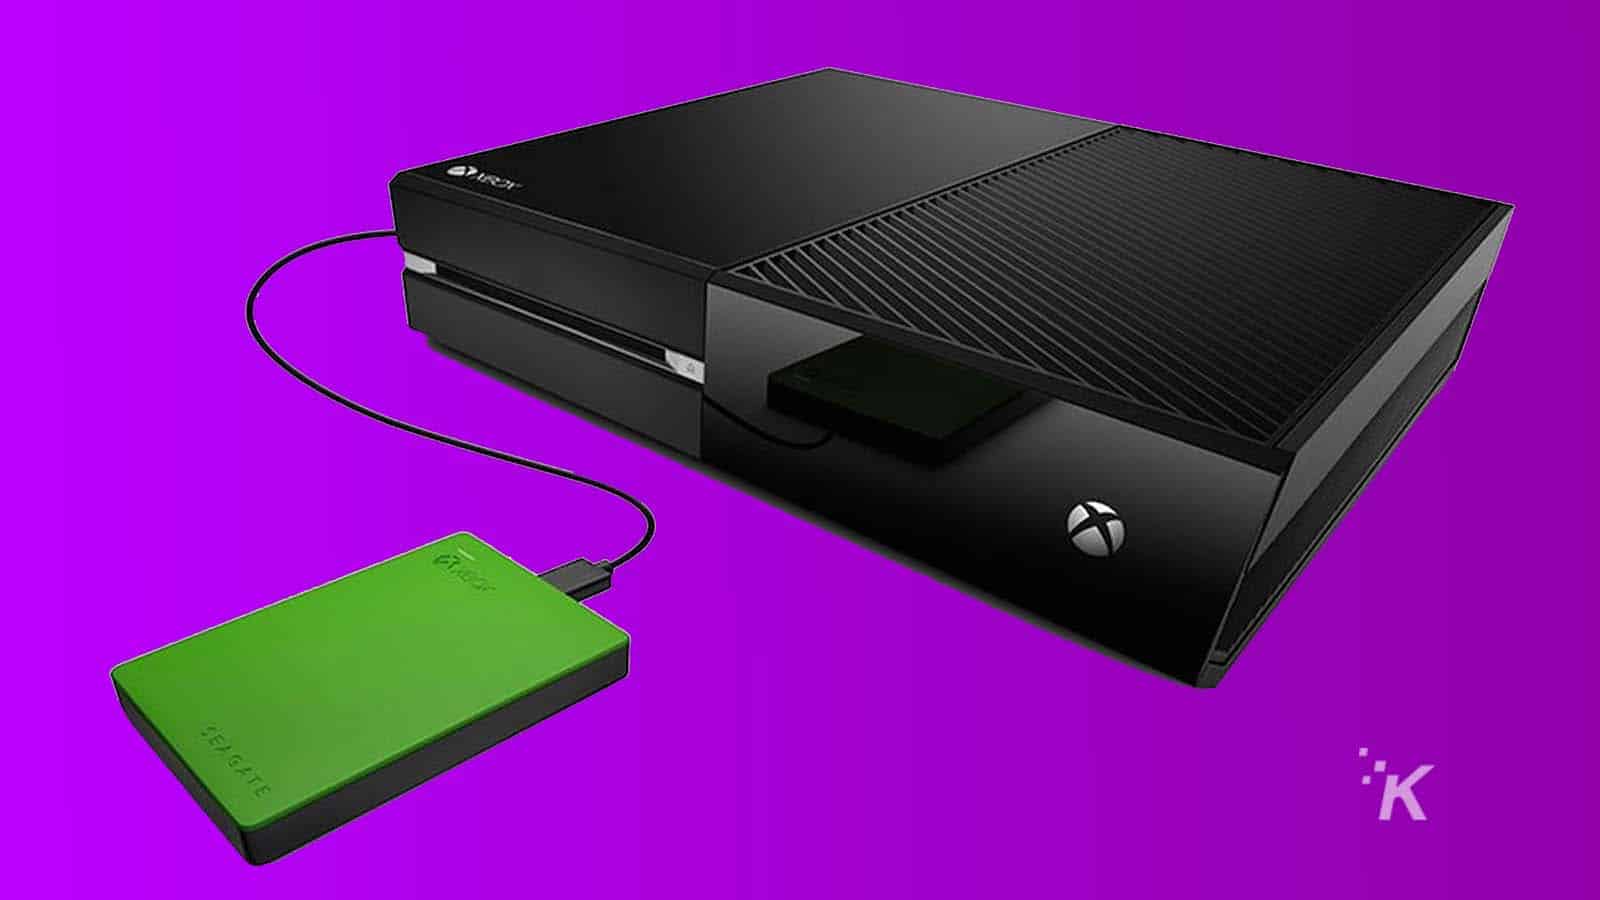
Image: KnowTechie
You’ll need a hard drive, and an enclosure to add your own storage to the Xbox One. A good choice would be the Orico Toolfree for 3.5″ or SSDs to serve as the enclosure, it can use multiple hard drive types of up to 12 TB size, and is USB 3.0. Remember, the Xbox One can have up to two external hard drives connected at once, with a total storage of 16 TB. This enclosure fits the bill and lets you choose from 3.5″ drives, 2.5″ drives and also 2.5″ SSDs. That means it can use this 2 TB FireCuda drive, which uses SSD cache to speed up transfers, or even this 2 TB Samsung SSD if you want even faster load times.
- Open the enclosure so you can see the SATA port. Make sure your HDD is aligned with that port, and slide it on, pushing until it’s snugly attached
- Depending on the enclosure, you either need to put a few screws into the HDD to keep it in place or simply slide the enclosure door back on
- Connect a USB 3.0 cable to the enclosure, and also connect the power cable that came with the enclosure (some enclosures won’t have an external power source)
- Power on your Xbox One
- When you’re at the Home Screen, plug in the External Drive you just made, and plug in any power cables for the drive. The enclosure lights should turn on, and you should hear the drive spin up (if it’s not an SSD)
- The Xbox should have also given you a pop-up notification, saying to Format storage device. Navigate to that with your controller and hit A to agree. You can also name the drive on the next step if you want
- Follow the instructions, including agreeing to any questions about if you want to format the drive.
- The Xbox interface will ask you if you want to install future games and apps on this drive, so select Install new things here and you should be done setting up your new external drive
Now that you have more storage space, you might want to move games off your internal drive onto the newly-installed external one. Here’s how:
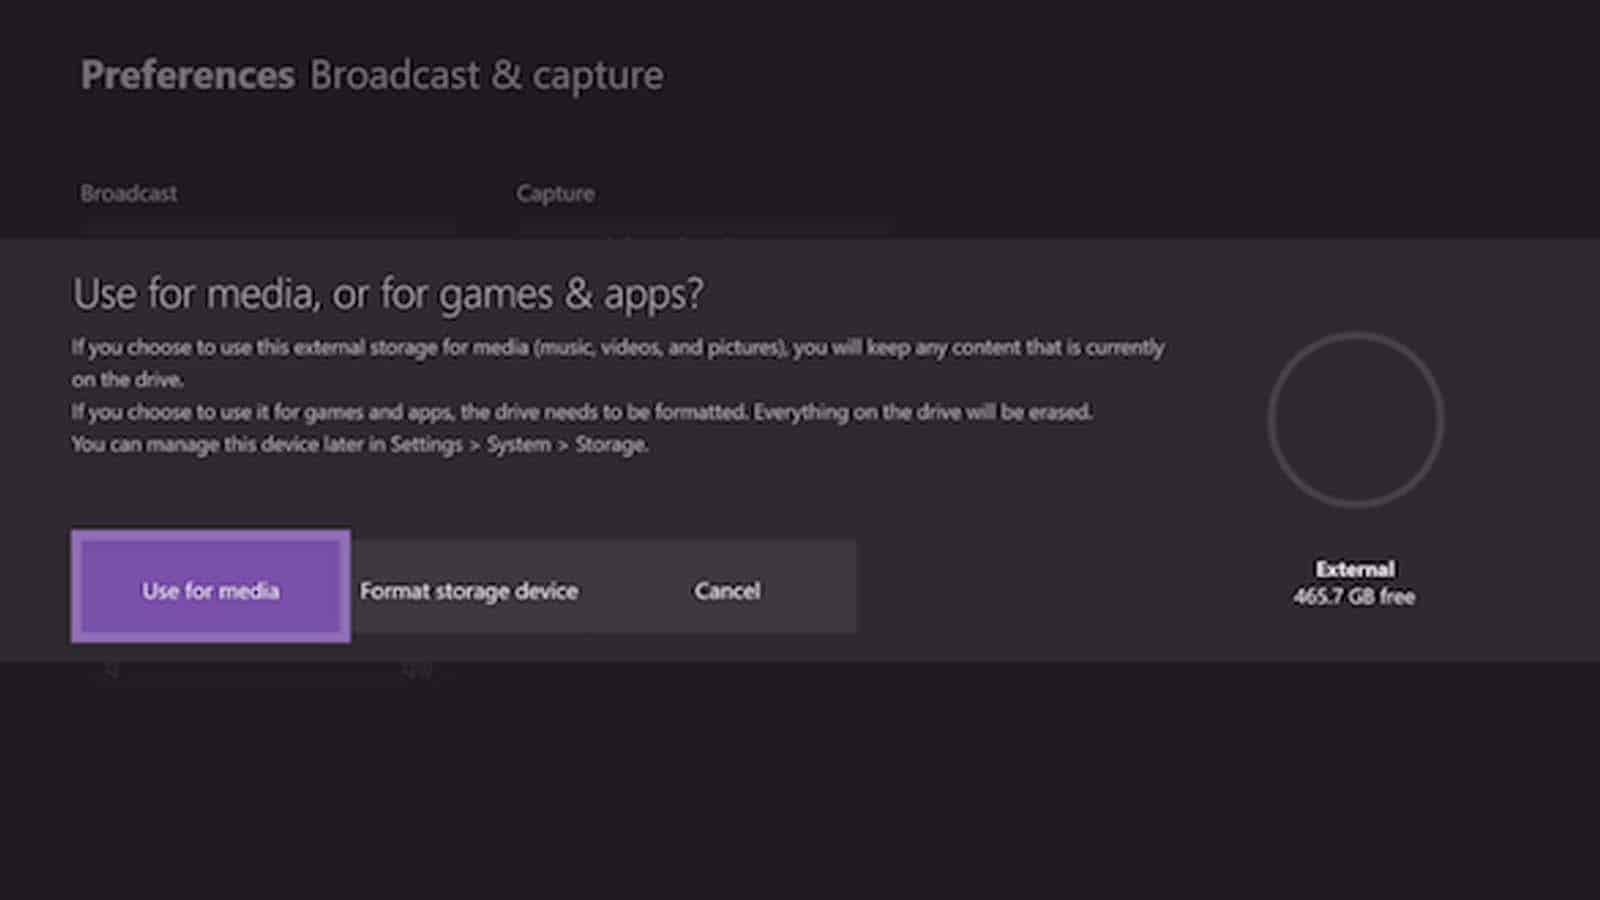
Image: The Windows Club
- Go to each game in your library (either on the Home Screen or on the Storage Screen)
- Press the menu button on your controller and select Manage game
- You’ll now see how much storage the game is taking up, and where the files are located. Highlight the data information box, and press the menu button again
- Now you’ll get another pop-up giving you the option to either Move or Copy the game data to the external drive. Choose Move to gain more internal space, then confirm on the pop-up
- Wait for the Xbox to transfer the files, and be warned – it could take a while and you don’t want to unplug the drive or lose power while it’s transferring
What do you think? Plan on switching to an external hard drive for game storage on your Xbox One? Let us know down below in the comments or carry the discussion over to our Twitter or Facebook.
Editors’ Recommendations:
- Xbox One controller isn’t connecting to my PC: How to fix it?
- Are Xbox One games region-locked?
- This is probably why your Xbox One keeps turning on by itself
- Can the Xbox One play Blu-ray movies?
Just a heads up, if you buy something through our links, we may get a small share of the sale. Click here for more.


#GameTechie
Can the PlayStation 5 play DVDs?